You’ve found the house, your offer was accepted, and now the inspection is on the calendar. If you’ve read our overview of what a home inspection is, you know why it matters. This follow-up covers what the day looks like, how to prepare, and what to do once the report lands in your inbox.
Before the Inspection: How to Prepare
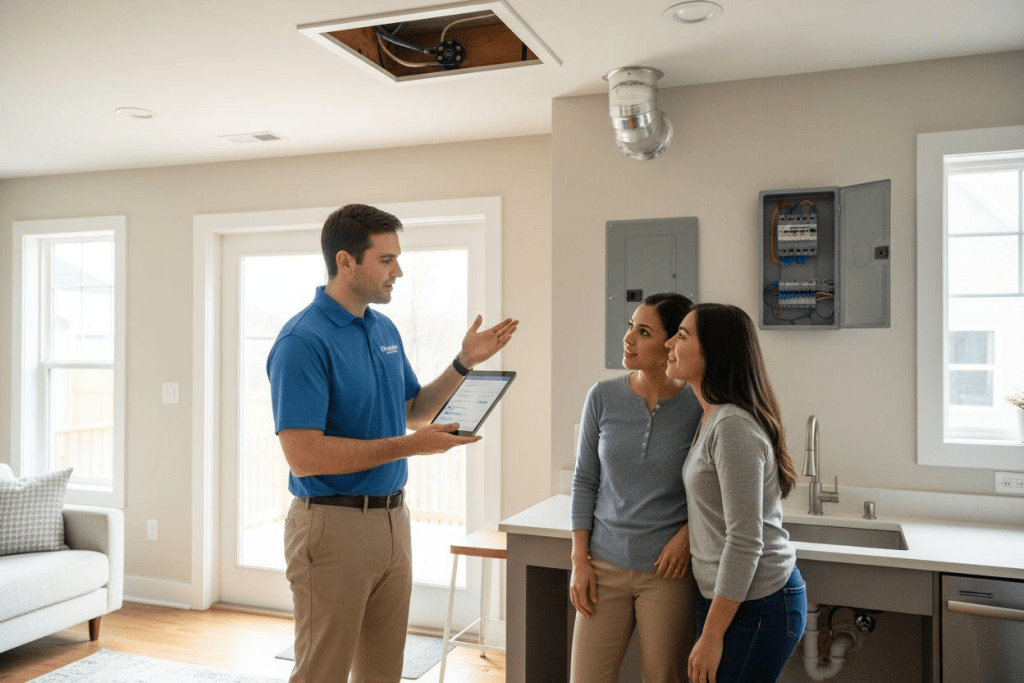
A little preparation helps the inspection go smoothly and keeps you from missing anything important.
- Confirm access. Make sure the inspector can reach the attic, electrical panel, water heater, crawlspace (if there is one), and any gates or outbuildings. Blocked areas can’t be fully evaluated.
- Check that utilities are on. Water, electricity, and gas (if applicable) need to be on so the inspector can test systems rather than just look at them.
- Plan to attend. You’re not required to be there, but being present is one of the best ways to learn about your future home.
- Write down your questions. Concerns about a musty smell, an older roof, or a past repair are worth raising on the spot.
During the Inspection: What Happens Step by Step

Most inspections of an average-sized home take a few hours, though larger or older properties can take longer. While every inspector has their own routine, the process generally flows like this:
1. The exterior. The inspector starts outside, looking at the roof, siding, gutters, grading, drainage, driveways, walkways, and the foundation’s visible perimeter. Exterior conditions often explain what shows up inside.
2. The roof and attic. Roof condition, flashing, and signs of wear or leaks are assessed, along with attic ventilation and insulation where accessible.
3. The interior. Inside, the inspector tests doors, windows, outlets, switches, and fixtures, runs faucets, flushes toilets, and checks for signs of moisture, cracking, or movement.
4. The major systems. Electrical panels, plumbing, water heating, and heating and air conditioning are each evaluated for safe, proper operation.
5. The walkthrough. Many inspectors finish by walking you through their key findings in person. This is your chance to ask questions and see issues firsthand, which makes the written report far easier to understand later.
What Inspectors Look For in Hawai’i Homes

Island properties face conditions that mainland homes don’t. A local inspector will pay close attention to:
- Moisture and humidity. Constant humidity can lead to mold, mildew, and moisture damage in walls, ceilings, and crawlspaces.
- Salt air corrosion. Homes near the coast can show accelerated wear on metal components, fasteners, railings, and exterior equipment.
- Roofing wear. Sun, rain, and wind take a toll over time.
- Solar and water heating systems. Many island homes have solar water heating or photovoltaic systems that deserve a careful look.
- Pests. Wood-destroying pests such as termites are a well-known concern in Hawai’i. Termite inspections are typically a separate service, so ask your inspector or agent how to schedule one.
What an Inspection Does Not Do
Setting expectations early prevents frustration later.
- It’s non-invasive. Inspectors don’t open walls, dig up yards, or move heavy furniture, so hidden problems can go undetected.
- It’s a snapshot. The report reflects the home’s condition on that day. It isn’t a warranty or a prediction of future repairs.
- It doesn’t cover everything. Specialized concerns, such as pests, sewer lines, or environmental hazards, may need a separate specialist.
- Condos are different. In a condo, the inspection generally focuses on your unit, while shared structures and common areas are typically the association’s responsibility.
After the Inspection: Reading Your Report

Within a day or so, you’ll receive a detailed written report. It can feel overwhelming, because even healthy homes produce long reports. The key is sorting findings into three categories:
- Safety concerns. Items like electrical hazards or active leaks should be addressed first.
- Major defects. Problems with big-ticket systems such as the roof, foundation, or HVAC may affect your negotiation or decision.
- Routine maintenance and minor items. Loose handrails, worn caulking, and similar items are normal and rarely deal-breakers.
Don’t expect a perfect house. Every home has something. What matters is understanding which issues are urgent, which are expensive, and which are simply part of owning a home.
Your Options After the Report
Once you’ve reviewed the findings, you generally have a few paths. The right one depends on your contract and your agent’s guidance.
- Move forward as-is if the findings are minor or manageable.
- Request repairs from the seller for significant issues.
- Negotiate a credit or price adjustment so you can handle repairs yourself.
- Bring in a specialist for a closer look at anything the inspector flagged.
- Reconsider the purchase if the issues are larger than you’re willing to take on.
Your real estate agent can help you decide what to ask for and how to word it.
Questions to Ask Your Inspector
- Which findings need attention first?
- Which issues could get worse if left alone?
- Roughly how much life remains in the roof, water heater, and HVAC?
- Is there anything I should have a specialist look at?
- What routine maintenance should I plan for in the first year?
The Bottom Line
Inspection day isn’t something to dread. It’s the moment you learn exactly what you’re buying. Show up prepared, ask plenty of questions, and treat the report as a roadmap for negotiation and for caring for your home long after closing.
If you’re preparing to buy, sell, or simply want a professional assessment of your property, contact O’ahu Home Inspections by filling out our contact form.
About The Author
Joseph Wood has over 25 years of experience in a variety of construction trades, including ground-up construction, remodels, solar, solar hot water, electrical, plumbing, heating and air conditioning, landscaping, siding, etc. He started working over the summers in high school doing remodels with his father’s company in Los Angeles. In 2003, he began work as a home inspector and quickly rose through the ranks to become a Certified Master Inspector and Owner of O’ahu Home Inspections. His experience with customer service, construction, and other fields allowed him to do reliable and in-depth home inspections and deliver all the information in a non-alarmist manner.g and air conditioning, landscaping, siding, etc. He started working over the summers in high school doing remodels with his father’s company in Los Angeles. In 2003, he began work as a home inspector and quickly rose through the ranks to become a Certified Master Inspector and Owner of O’ahu Home Inspections. His experience with customer service, construction, and other fields allowed him to do reliable and in-depth home inspections and deliver all the information in a non-alarmist manner.